
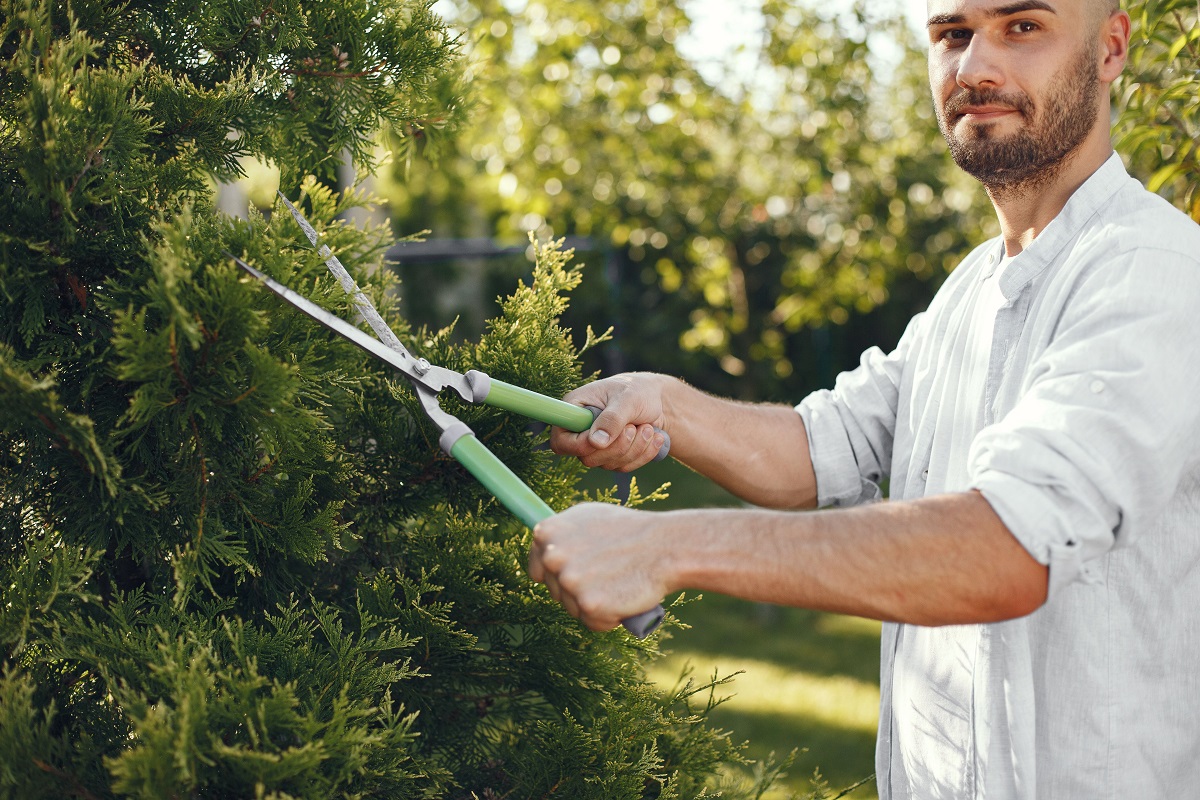
Key Takeaways
- Late winter through early spring, while trees are still dormant, offers the healthiest window for pruning most deciduous species
- Dormant pruning lowers the risk of disease transmission, including serious infections like Dutch Elm and Oak Wilt
- Different species have different ideal windows — oaks, maples, and flowering trees each follow their own rules
- Proper tools, clean cuts, and the three-cut method prevent bark tearing and encourage faster wound closure
- Light shaping can happen year-round, but heavy structural work should wait for the dormant season
- Hiring a certified arborist is worth it for large limbs, storm damage, or any work near power lines
- A consistent pruning schedule year after year creates stronger structure, better airflow, and a more beautiful yard
Most homeowners grab the loppers whenever a branch looks out of place. That instinct is understandable, but it can quietly cost you years of healthy growth. Trees respond to cuts differently depending on the season, and a poorly timed trim can invite pests, disease, and stress that take seasons to recover from.
The good news is that the science behind pruning is settled. Decades of research from forestry extensions and arborists point to clear windows when trees heal faster, bleed less sap, and resist infection. Once you understand why timing matters, every cut you make becomes a long-term investment in your landscape.
This guide walks you through the entire process step by step, from picking the right week on the calendar to making the final cut. Whether you have a single maple in the front yard or a backyard full of mature hardwoods, you will finish with a clear plan.
When Dormant Pruning Pays Off
The dormant season — roughly late fall through early spring, depending on your zone — is when most trees shut down active growth and conserve energy in their roots. Cutting during this window causes less shock because the tree is not pushing sap or forming new leaves. Wounds also stay drier, which means fewer pathogens find their way in.
According to the Colorado State Forest Service, wound closure happens sooner when pruning takes place just before new growth emerges in late winter or early spring, rather than earlier in the dormant period. That short window right before buds swell is the sweet spot. The tree is still asleep, but its healing machinery is ready to switch on the moment you make a cut.
Disease pressure drops too. Davey Tree notes that dormant pruning helps reduce the risk of fungal infections and the spread of diseases like Dutch Elm and Oak Wilt, largely because the insects and spores that carry those pathogens are inactive in cold weather. If you have oaks or elms, this alone is reason enough to wait for winter.
What Is the Ideal Season to Prune Trees?
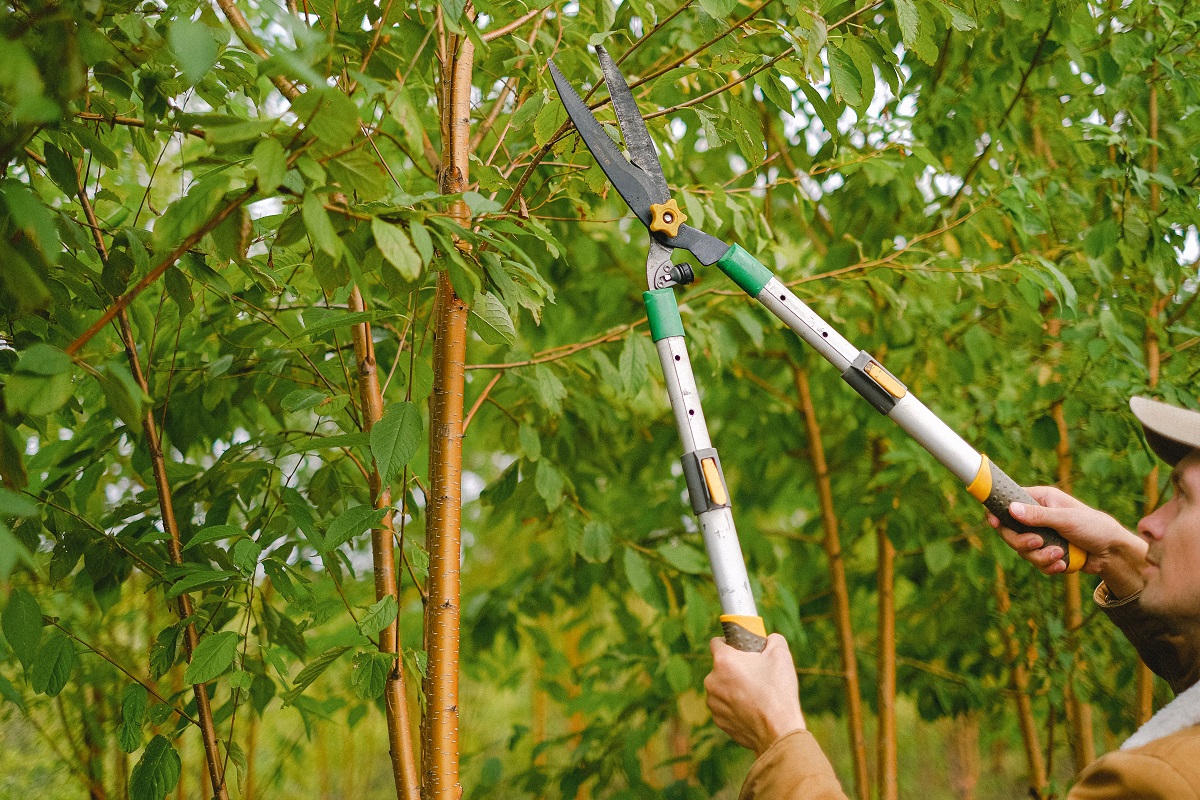
For most deciduous species, the calendar answer is narrower than you might think. Iowa State University Extension reports that February through March is generally considered the ideal window for pruning most deciduous trees. That stretch lines up with the end of dormancy in much of the country, giving you cold-protected wounds and quick spring healing. During dormancy, the tree is not actively pushing sap or energy into new growth, which means cuts seal faster once warmer weather arrives, insects and fungal spores are far less active, and the bare canopy makes it dramatically easier to see the tree’s structure without a wall of leaves hiding problem branches.
That said, the best time of year to trim trees shifts a little depending on species and climate zone. In the Upper Midwest, that window may stretch into early April, while in southern states it can start as early as January. Pay attention to local bud swell rather than a strict date on the calendar — your tree is a better signal than any almanac. Here is a quick breakdown you can use as a reference:
- Oaks: prune only in the coldest months, typically November through February, to avoid attracting sap beetles that spread Oak Wilt, a disease that can kill a mature oak in a single season
- Maples, birches, and walnuts: late winter, accepting some sap bleed which looks alarming but is harmless and does not weaken the tree
- Fruit trees: late winter before bud break for best fruit production, with the goal of opening the center to sunlight and airflow
- Spring-flowering trees like dogwood and magnolia: right after they finish blooming, since pruning in late winter would remove the flower buds already set the previous year
- Evergreens: late winter or very early spring, before new candles push out, and avoid cutting back into bare wood on pines and spruces because they typically will not regenerate from it
- Dead, damaged, or hazardous limbs: any time, no waiting required, since leaving them in place invites decay, pests, and liability
Climate zone matters just as much as species. Gardeners in USDA zones 3 and 4 should wait until the worst of the deep-freeze threat has passed, since fresh cuts exposed to minus-twenty temperatures can suffer dieback around the wound. In zones 8 and warmer, dormancy is shorter and less distinct, so timing often revolves around avoiding the hottest, most drought-stressed stretches of summer instead. Good tree care is as much about reading the weather pattern of your region as it is about following a universal rulebook.
How to Read Your Tree Before You Cut
Before touching a saw, walk around the tree. Look up. Note which branches cross or rub, which ones grow back toward the trunk, and which ones form tight V-shaped crotches that are prone to splitting under snow load or wind. Look for stubs left from past pruning, water sprouts shooting straight up from major limbs, and any suckers rising from the base of the trunk. Check the bark for cracks, oozing, or peeling patches that may indicate deeper problems a pruning cut will not fix.
Mark problem limbs with ribbon or chalk so you do not lose track once you are up on a ladder. Step back fifteen or twenty feet between markings to recheck the tree’s overall balance — it is surprisingly easy to over-mark one side and end up with a lopsided canopy. A plan on the ground saves mistakes in the air, and it keeps you from making the single most common homeowner error: removing more than twenty-five percent of the live canopy in a single season, which stresses the tree and often triggers a flush of weak, poorly attached regrowth.
Gear Up and Set the Stage
Good tree care starts with sharp, clean tools. Dull blades crush wood fibers instead of slicing them, and dirty blades carry fungal spores from one cut to the next. Before you begin, wipe each blade with isopropyl alcohol or a diluted bleach solution, and sharpen anything that does not slice a piece of paper cleanly.
Here is the basic kit most homeowners should have on hand:
- Bypass hand pruners for anything under three-quarters of an inch
- Loppers for branches up to about two inches thick
- A folding pruning saw for limbs beyond lopper range
- A pole pruner for high branches you can reach from the ground
- Safety glasses, work gloves, and a hard hat if you are working under larger limbs
- A sturdy ladder, or better yet, a trained professional for anything above head height
If you want to layer pruning decisions into a bigger landscape plan, these tree service landscaping tips explain how shape, placement, and timing all work together to raise curb appeal.
Setting Safety Rules Before You Climb
Never work alone on anything above shoulder height. Have a spotter, keep your phone within reach, and stay clear of power lines by at least ten feet. If a limb is bigger than your wrist, roped, or anywhere near utility wires, stop and call a certified arborist. A single bad cut from a ladder can turn a weekend project into an ER visit.
A Step-by-Step Pruning Walkthrough

Once your tools are ready and the weather cooperates, work through the tree in a clear order. Rushing causes mistakes, and mistakes on living wood do not erase. Unlike mowing a lawn or raking leaves, every cut you make on a tree is permanent — the wood you remove today will not grow back in the same place, and the shape you set now will influence the tree’s structure for years, sometimes decades. That is why patience and a plan matter more than speed.
Before you make a single cut, walk a slow circle around the tree. Look at it from several angles, note which branches are dead, which are crowding each other, and which define the natural silhouette you want to preserve. Many arborists recommend tying a loose ribbon on limbs you intend to remove so you can confirm the overall balance before committing. This single habit separates thoughtful tree care from reactive hacking.
Follow these steps every time:
- Remove the three D’s first — dead, damaged, and diseased wood
- Cut out branches that cross or rub against each other, since the wounds they create are open doors for pests and fungi
- Thin dense interior branches to improve airflow and light penetration, which also reduces wind resistance during storms
- Shorten overly long limbs back to a healthy lateral branch at least one-third the diameter of the limb you are cutting
- Step back every few cuts to check the overall shape, walking around the tree rather than judging from one spot
- Stop when you have removed roughly 15 to 20 percent of the canopy, never more in a single season, as heavier cuts can trigger stress sprouts and sunscald
For any limb larger than an inch, use the three-cut method. Make a small undercut about a foot out from the trunk, cutting roughly a third of the way through from below. Then make a top cut a couple inches beyond that to drop the weight of the branch cleanly, without tearing a long strip of bark down the trunk as it falls. Finally, make a clean cut just outside the branch collar — that slightly swollen ring where the limb meets the trunk. The collar contains specialized cells that seal the wound naturally, so protecting it is essential. Never cut flush, and never leave a long stub. Both slow healing and invite rot, insect borers, and fungal cankers that can shorten the life of an otherwise healthy tree.
A few extra habits are worth building in. Sanitize your blades with rubbing alcohol or a diluted bleach solution between trees, and especially between cuts if you suspect disease — this one step prevents you from spreading problems like fire blight or oak wilt across your yard. Avoid applying wound dressings or pruning paints; decades of research have shown trees heal faster when the cut is simply left clean and open to the air.
Research from the University of Wisconsin-Madison Extension, shared through Lawn Starter, found that canker infection rates were lowest in January compared to fall pruning. That is one more reason to resist the urge to tidy up in October and wait a few more weeks for deeper cold. Knowing the best time of year to trim trees is only half the equation — the other half is the disciplined, step-by-step approach that turns a dormant afternoon into years of healthier growth.
Common Mistakes That Set Trees Back for Years
Even well-meaning homeowners make the same handful of errors. Topping — chopping the entire upper canopy flat — is probably the worst. It triggers panic growth of weak, poorly attached shoots and shortens the tree’s lifespan dramatically. If someone recommends topping your tree, get a second opinion.
Otherfrequent missteps include:
- Flush cuts that remove the branch collar and destroy the tree’s natural defense zone
- Leaving long stubs that die back and become entry points for decay
- Sealing wounds with paint or tar, which traps moisture and slows healing
- Over-thinning the interior, sometimes called lion-tailing, which weakens limb structure
- Pruning spring bloomers in winter and losing an entire season of flowers
- Removing more than a fifth of the canopy in one year, forcing the tree into survival mode
Why Less Is Almost Always More
A light hand beats an aggressive one every time. Trees cannot regrow tissue the way skin heals a cut — they seal off damage by compartmentalizing around it. Every wound is permanent on the inside, even after the bark closes over. That means fewer, smarter cuts outperform a dozen rushed ones, and a tree pruned gently over five years will outclass one hacked back in a single afternoon.
When to Put the Saw Down and Call a Pro
Some jobs simply are not DIY projects. Large hardwoods, storm-damaged limbs hanging under tension, and anything near a roofline or utility line all demand a certified arborist with the right rigging and insurance. The cost of professional removal is almost always less than the cost of a fall, a broken window, or a lawsuit from a neighbor’s damaged fence.
Signs it is time to hire out:
- Limbs larger than four inches in diameter at the cut point
- Any branch over a structure, driveway, or walkway
- Trees showing cavities, mushroom growth, or large dead sections
- Work that requires climbing with ropes or using a chainsaw overhead
- Species prone to serious disease, like elms and oaks during risky months
Look for an arborist certified by the International Society of Arboriculture. Ask for proof of insurance, a written estimate, and references from recent local jobs. A good pro will walk your property with you, explain each recommendation, and never pressure you into unnecessary removals.
Building a Year-After-Year Pruning Rhythm
Great landscapes are not built in one weekend. The homeowners with the most impressive yards work on a quiet, repeating schedule — a little every dormant season, a quick cleanup after storms, and a watchful eye the rest of the year. That rhythm compounds. Five years of thoughtful cuts produce a tree with strong scaffolding, balanced weight, and a canopy that lets dappled light reach the lawn below.
Keep a simple log. Jot down which trees you worked on, roughly how much you removed, and any issues you noticed. Next winter, you will know exactly where to pick up. Over time, your yard shifts from a collection of plants into a managed landscape — one where every tree has a purpose, a shape, and room to thrive.
Wrapping It Up
Timing is the quiet variable that separates healthy, long-lived trees from stressed ones that limp through every summer. Late winter through early spring gives you the widest safety margin, the fastest healing, and the lowest disease risk for nearly every species you are likely to have in your yard. Pair that window with sharp tools, clean cuts, and a conservative hand, and you are already doing more than most homeowners ever will.
The payoff shows up slowly, then all at once. Branches you thinned three winters ago now let sunlight pour onto the lawn. A maple you shaped as a young tree stands balanced against spring storms. The oak you waited to prune until January never caught the disease that took your neighbor’s. These are not accidents — they are the result of patient, well-timed work.
Pick your calendar window, sharpen your blades, and start small this season. Your trees will reward the effort for decades, and your landscape will look better every year because of it.