
Highlights:
-
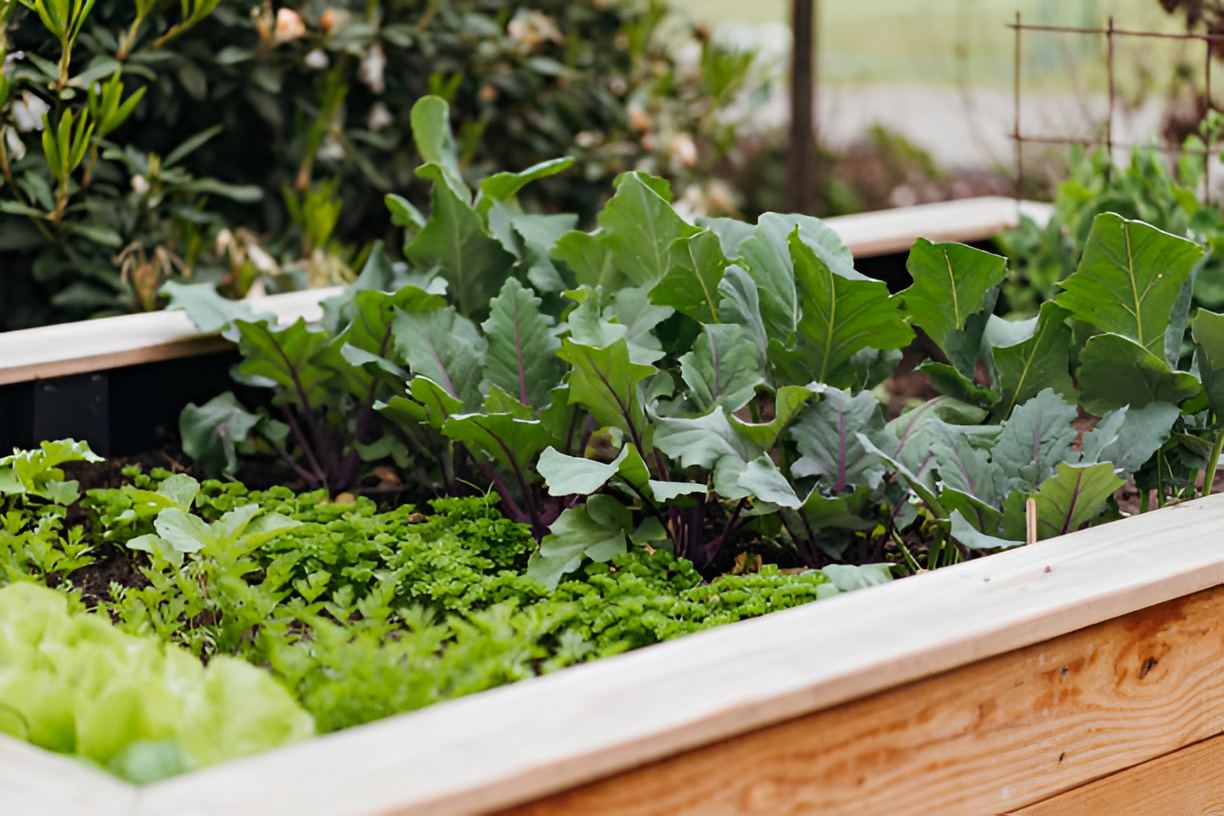
Raised garden beds improve soil quality, drainage, and accessibility, making gardening easier for beginners.
-
Proper planning—including location, size, and plant selection—is crucial for a successful raised bed.
-
Choosing the right materials and tools ensures durability and simplifies construction.
-
Layering nutrient-rich soil and compost supports healthy plant growth and productivity.
-
Regular maintenance, including watering, weeding, pruning, and seasonal crop rotation, keeps the bed thriving.
-
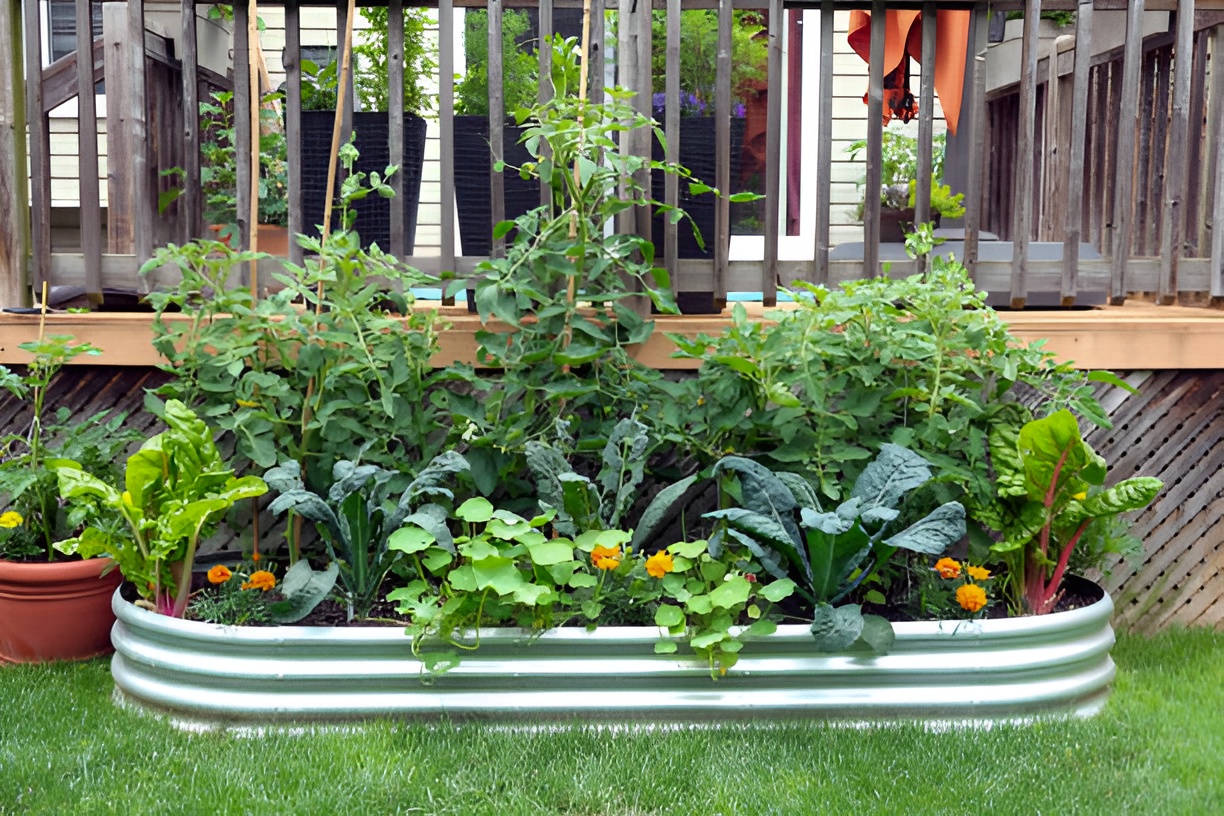
Companion planting and vertical supports maximize space and improve plant health.
-
Additional features like irrigation, protective covers, and tidy pathways increase functionality and convenience.
Gardening is one of the most rewarding hobbies, but if you’re new to it, starting with a raised garden bed can make your life so much easier. Raised beds offer better soil control, improved drainage, and a cleaner look for your outdoor space. Whether you’re planting vegetables, herbs, or flowers, building your own raised garden bed is easier than you might think.
In this guide, we’ll walk you through everything from planning and choosing materials to construction and planting. By the end, you’ll have the confidence to create a garden that’s both beautiful and productive.
Why Choose a Raised Garden Bed?
Raised garden beds offer several advantages over traditional in-ground gardening:
-
Improved Soil Quality: You control the soil mix, which means healthier plants.
-
Better Drainage: Raised beds prevent waterlogging, reducing root rot.
-
Easier Access: You won’t need to bend as much, which is perfect for older gardeners or anyone with back problems.
-
Pest Control: Elevated beds make it harder for pests like rabbits or ground-dwelling insects to reach your plants.
-
Extended Growing Season: The soil in raised beds warms faster in the spring, giving you a head start.
If you’ve been wondering how to refresh your outdoor space, a raised garden bed is a perfect starting point. It instantly adds structure, color, and life to your yard, while giving you a practical spot to grow vegetables, herbs, or flowers. With a little planning, even a small bed can completely transform the look of your garden.
Planning Your Raised Garden Bed: What Should You Consider?
Before you start grabbing wood and nails, take a step back and plan your project. Ask yourself:
-
Where should the bed go? Pick a spot with plenty of sunlight (ideally six to eight hours a day for vegetables).
-
How big should it be? Standard beds are usually 4 feet wide (so you can reach the middle from either side) and 6 to 8 feet long. The height can range from 12 to 24 inches depending on your soil depth needs.
-
What will you plant? Some vegetables and flowers need deeper soil than others. Roots like carrots, tomatoes, and potatoes require more depth.
-
What’s your budget? Materials can vary in price, so plan accordingly.
Choosing Materials for Your Raised Bed
You have a lot of options when it comes to materials, each with its pros and cons:
-
Wood: Cedar and redwood resist rot naturally. Avoid pressure-treated wood that may leach chemicals into the soil.
-
Stone or Brick: Durable and aesthetically pleasing but can be costly and labor-intensive to install.
-
Metal: Steel or corrugated metal beds are long-lasting but can heat up quickly in full sun.
-
Recycled Materials: Pallets, old timber, or other reclaimed materials can be eco-friendly and inexpensive.
Consider durability, budget, and aesthetics when choosing the right material for your garden bed.
Tools You’ll Need
Having the right tools makes the process much smoother. Here’s a basic list for building a wooden raised bed:
-
Tape measure
-
Saw (hand or power)
-
Drill and screws
-
Level
-
Shovel
-
Gardening gloves
-
Soil or compost
-
Mulch (optional)
Make sure to have all your tools on hand before you start cutting or assembling the bed.
Step 1: Preparing the Site
Preparing your site carefully is the foundation of a successful raised garden bed. A well-prepped site ensures your bed is stable, weed-free, and ready for healthy plant growth.
-
Mark the outline: Use stakes and string or even spray paint to define the exact borders of your bed. This helps you visualize the space and ensures straight edges. If you’re working on a slope, consider leveling one side slightly or creating a tiered bed.
-
Remove existing vegetation: Clear the area of grass, weeds, and rocks. Dig up roots thoroughly to prevent them from growing back and competing with your garden plants. A flat spade or a garden hoe can make this easier.
-
Level the ground: While raised beds don’t need a perfectly flat surface, a mostly even bed keeps your frame stable and ensures water doesn’t pool in one corner. Use a level or a long board to check evenness.
-
Optional weed barrier: Lay down a layer of cardboard, newspaper, or landscape fabric before adding soil. This suppresses weeds, reduces future maintenance, and slowly decomposes to enrich the soil naturally.
Extra Tip: If your soil is compacted or clay-heavy, loosen it with a garden fork before building the bed. This improves drainage and root penetration.
Step 2: Assembling the Frame
Once your site is ready, it’s time to build the structure that will hold your soil. The frame determines both the shape and durability of your raised bed.
-
Cut your materials to size: Measure twice and cut once! Standard beds are typically 4 feet wide (so you can reach the middle from either side) and 6–8 feet long. Adjust dimensions to suit your space.
-
Attach corners: Secure corners with screws, brackets, or corner brackets designed for outdoor use. For added stability, drill pilot holes first to prevent wood from splitting.
-
Check for level: Use a spirit level to make sure the frame is even on all sides. Uneven beds can cause water to pool and may put stress on the frame over time.
-
Optional reinforcement: Taller beds (18–24 inches) benefit from corner stakes or interior supports to prevent bowing from the soil’s weight.
-
Non-wood options: If you’re using stone, brick, or metal, dry-fit all pieces first. Make adjustments to spacing, alignment, and height before permanently fixing or stacking materials. Mortar or brackets can secure stone or brick beds, while metal sheets may need bolts or corner clamps.
Extra Tip: Sand down any rough edges on wood to prevent splinters and make the bed safer to work with.
Step 3: Adding Soil
The soil you put in your raised bed is critical—it’s essentially the lifeblood of your garden. A rich, well-draining mix encourages healthy roots, strong plants, and bountiful harvests.
Recommended soil mix:
-
40% topsoil
-
40% compost or well-rotted organic matter
-
20% potting soil or other soil amendments
For root vegetables, consider adding a small portion of sand or perlite to improve drainage and prevent compacted soil. Fill the bed evenly to the top; the soil will settle over time, so keep extra compost or soil on hand for topping up.
Tips for Soil Success
-
Don’t over-compact: Lightly tamp the soil so roots can breathe and water can drain properly.
-
Add nutrients: Mixing in organic fertilizers, worm castings, or compost tea provides a steady supply of nutrients.
-
Shape for drainage: A slight mound in the center allows water to run toward roots rather than pooling at the edges.
-
Layering: For deeper beds, consider layering coarse materials like small rocks at the bottom for extra drainage, though this is optional.
Extra Tip: If you want to speed up soil warming in the spring, cover the bed with clear plastic or a cold frame for a week or two before planting.
Step 4: Planning Your Plant Layout
Organizing your bed effectively makes planting, maintenance, and harvesting much easier. Thoughtful layout ensures plants thrive without overcrowding.
Ideas for plant arrangement:
-
Vegetables: Tomatoes, lettuce, peppers, carrots, beans
-
Herbs: Basil, parsley, thyme, oregano
-
Flowers: Marigolds, nasturtiums, sunflowers (attract pollinators and beneficial insects)
Tips for a Successful Layout
-
Group plants with similar sunlight and water needs.
-
Use vertical supports like trellises, cages, or stakes for climbing plants to save space.
-
Plan pathways or stepping areas if you have larger beds so you can reach plants without stepping on the soil.
-
Companion planting can help reduce pests and boost growth—e.g., basil near tomatoes or onions near carrots.
Extra Tip: Sketch your layout on paper before planting to visualize spacing and plant height for the growing season.
Step 5: Watering and Maintenance
Maintaining a raised bed is mostly about proper watering and regular care. Consistent attention keeps plants healthy and maximizes yields.
Watering tips:
-
Water deeply but less frequently to encourage strong root development.
-
Use drip irrigation, soaker hoses, or a watering can for even moisture distribution.
-
Mulch the surface with straw, leaves, or wood chips to retain moisture and reduce weed growth.
Routine maintenance:
-
Pull weeds regularly to prevent competition for nutrients.
-
Prune overgrown plants to improve airflow and light penetration.
-
Rotate crops each season to maintain soil fertility and prevent disease buildup.
-
Monitor for pests and take early action to protect your plants.
Extra Tip: In hot weather, water in the early morning or late afternoon to reduce evaporation and prevent plant stress.
Can You Build a Raised Bed Without Wood?
Absolutely! While wood is popular, raised beds can be built using other materials that might suit your space, budget, or style:
-
Concrete blocks or bricks: Stack them for a sturdy, long-lasting frame. Easy to shape into custom dimensions.
-
Metal sheets or corrugated steel: Sleek, modern look; can get very durable and easy to assemble.
-
Recycled pallets or old timber: Eco-friendly and affordable, but make sure wood is untreated and safe for garden use.
Even with non-wood materials, the same principles apply: plan your layout, level your site, and fill with nutrient-rich soil for healthy plants.
Extra Tip: Adding corner reinforcements or brackets can increase stability, especially for taller beds made from lighter materials.
How Deep Should a Raised Garden Bed Be?
Depth depends on what you plan to grow:
-
12 inches: Suitable for herbs, lettuce, and small flowers
-
18 inches: Good for most vegetables, including root crops
-
24 inches or more: Ideal for deep-rooted plants like carrots, potatoes, or larger shrubs
Keep in mind that taller beds are easier on the back and can help deter pests.
How to Protect Your Raised Garden Bed
Pests and weather can challenge your garden. Consider:
-
Row covers or netting: Protect from insects or birds
-
Fencing: Keep rabbits and larger animals out
-
Shade cloth: Prevent delicate plants from scorching in intense sun
-
Mulch and organic matter: Helps regulate soil temperature and moisture
Adding Functional Features to Your Raised Bed
Raised beds don’t have to be just boxes of soil—they can include features that make gardening easier and more efficient:
-
Built-in Irrigation: Adding a simple drip system or soaker hoses saves time and ensures even watering.
-
Storage and Tool Hooks: Attaching hooks for small tools or a nearby caddy keeps essentials within reach.
-
Protective Covers: Removable netting or row covers can protect young plants from birds, pests, or harsh weather.
-
Vertical Supports: Trellises, cages, or stakes for climbing plants increase yield without taking up more ground space.
-
Pathways Around Beds: Adding stepping stones or mulch paths helps you access plants easily and keeps the area tidy.
Seasonal Tips for Raised Garden Beds
Your raised bed will perform differently depending on the season:
-
Spring: Start seeds indoors and prepare soil with compost
-
Summer: Keep beds watered and prune aggressively to encourage growth
-
Fall: Harvest remaining crops and amend soil for winter
-
Winter: Consider cover crops or mulch to protect soil from frost
Common Mistakes to Avoid
Even beginners can succeed if they avoid a few pitfalls:
-
Using poor-quality or chemically treated wood
-
Overcrowding plants, leading to poor growth
-
Failing to level the bed, causing uneven water distribution
-
Neglecting soil health over multiple seasons
Decorating and Styling Raised Beds
You can go beyond functionality:
-
Paint or stain wooden beds for a polished look
-
Mix in flowers for color contrast with vegetables
-
Arrange multiple small beds in geometric patterns
-
Use trellises for vertical interest
Raised beds aren’t just practical—they can be the centerpiece of your garden design. Incorporating raised beds is one of the easiest landscaping ideas for curb appeal because it creates structured planting areas that look intentional and attractive from the street. Combining flowers, vegetables, and greenery ensures your yard looks vibrant and welcoming.
Harvesting and Crop Rotation
Once your plants mature, harvesting is key to keeping your bed productive. Rotate crops each season to maintain soil health. Some quick tips:
-
Pick vegetables when fully ripe for the best flavor
-
Cut herbs early in the day for maximum aroma
-
Remove old plants to prevent disease
DIY Raised Bed Expansion
As your gardening confidence grows, you may want to expand your setup:
-
Add a second bed for companion planting
-
Connect beds with pathways for easy access
-
Introduce vertical structures for climbing crops
Your first raised garden bed is just the beginning.
Closing Thoughts
Building a raised garden bed is approachable even for beginners. With some planning, the right materials, and basic tools, you can create a beautiful, productive garden that enhances your yard and simplifies your gardening experience. Start small, experiment, and enjoy the satisfaction of growing your own plants while boosting your outdoor space’s charm.